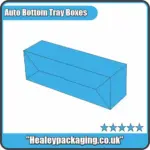
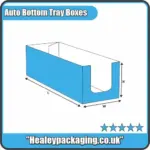
Auto Bottom Tray Packaging
Auto bottom tray packaging has invented the new style, it is the most comfortable and simple packaging. They are now very common in the market for product packaging because they are simple to operate, strong and attractive. It will let you know the features, applications and main steps of auto bottom tray packaging manufacturing. It’s a really ubiquitous packaging type.
Get Your Custom Quote
Share your box details and we will send your price.
Auto Bottom Tray Packaging Structure
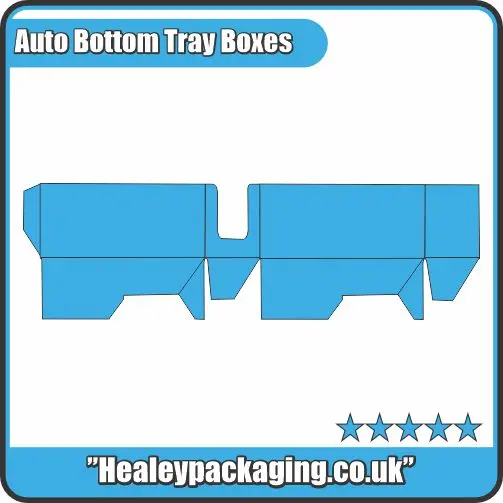
Auto bottom tray packing has few part elements which all work together to deliver a solid packing. This is the basic configuration of an auto bottom tray:
1. Base:
Usually, the base of the tray is the main structure and is either corrugated cardboard or thick fibreboard. This base can be die-cut into a square, a rectangular or any other shape as per the look of the item to be made.
2. Wall:
Auto bottom tray Side walls : The side walls of the auto bottom tray usually are made of corrugated cardboard or solid fiberboard, all the way to the part that actually provides the top of the tray. These walls contain the vertical volume of the package and protect all of the goods inside.
3. Top Flap:
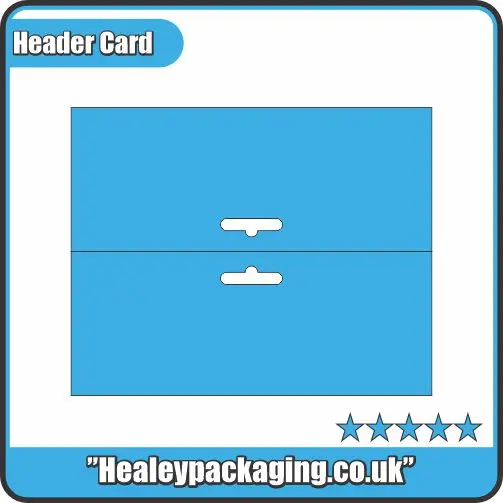
This is one of the most important components of auto bottom tray design as it is the lid component of the tray. The top flap is normally bonded to the main wall and just folds and locks to create an enclosed container.
4. Bottom Flap:
Fourth flap is on bottom, underside and it is locked to fold up for storage of the products and stacking and transport.
Uses of Auto Bottom Tray Packaging
Auto bottoms tray packaging is commonly appreciated in different industries to a large extent owing to its flexibility and functionality. Some of the most common applications include:
1. Electronics Industry:
The auto bottom tray packaging is perfect for packing delicate products like remote controls, headphones, and portable chargers for electronics devices like USB. The tray design offers much needed protection to the items to ensure they do not break and remain operational.
2. Food and Beverage Industry:
The auto bottom trays, generally, find wide acceptance in the food and beverages industry for the purpose of packaging these products such as cookies, crackers, and confectionery products.
The trays afford great protection, visibility and chance of merchandising that makes it perfect for the retailer and the consumer.
3. Cosmetics and Beauty Industry:
The auto bottom tray is suitable for a variety of cosmetics including brush sets, lip-glosses, lip-sticks, creams and lotions.
The trays offer good product display and they are easily flexible for logo branding, colour and graphics to enable the customers identify the specific brands.
4. Toy Industry:
The auto bottom tray packaging is perfect for small toys, board games, and novelties. They provide sufficient safeguard and can be easily stacked to facilitate easy viewing of the products on the trays – hence gaining the interest of both the suppliers (retailers) and the consumers.
7 Steps to Design Auto Bottom Tray Packaging
To realise auto bottom tray packaging, a lot of consideration has to be made while designing in order to come up with the best package that will suit a particular product or use. The following steps outline the design process for auto bottom tray packaging:
Step 1: Determine Product Characteristics
There are several factors relating to the product that need to be gathered before a designer starts with the design; these include size, weight and any required packaging.
This information will be useful in deciding what design to implement to make sure that the auto bottom tray will be able to accommodate the product.
Step 2: Select Tray Materials
The materials to use when building the auto bottom tray will depend on the nature of the product and the amount of protection required for the product.
Other potential substrates include corrugated cardboard, solid fibreboard and plastic substrates. All these materials have benefits and drawbacks and it is very important to consider the right type of material for the certain use.
Step 3: Design the Tray
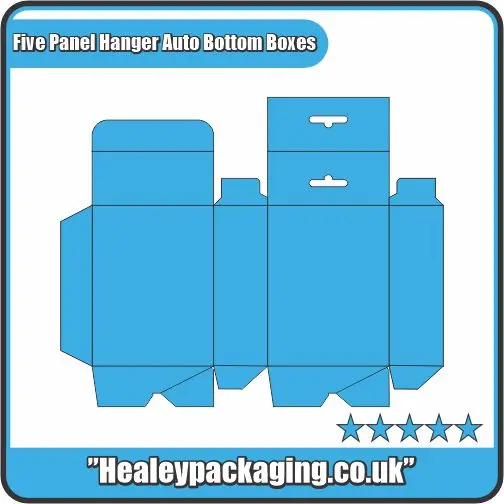
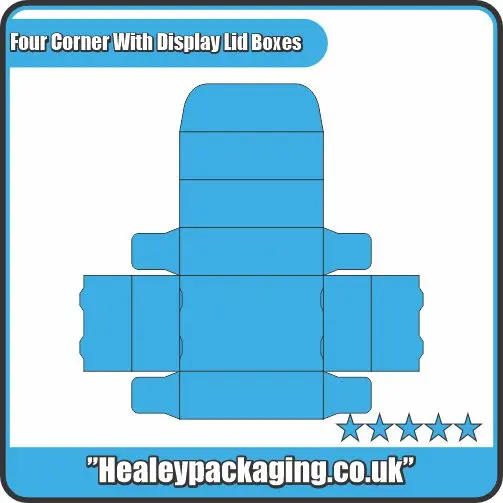
Appealing to set design programs, print an auto bottom tray die cutting template that will include all the necessary measurements and details. Much as already pointed out, the base, walls, and flaps of an instant stake should be designed to provide a firm package.
Step 4: Add Customisation
When trying to design the tray, it should be also possible to add branded logos, colours, and graphics to be placed on the packaging to make it look more attractive and recognisable by customers.
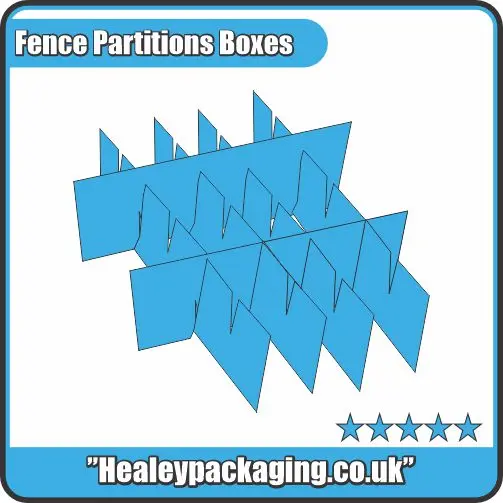
Furthermore, other features regarding certain products, for example using compartments or dividers.
Step 5: Test the Design
The next step is to prove the chosen auto bottom tray design suitable for a product by assembling a prototype to determine proper fit and function and stability. Based on the result of the test, there should be some changes or modification that should be made.
Step 6: Produce the Packaging
Usually, once the design is approved the auto bottom trays could be created by using tools such as die cutting and folding equipment. The trays can then be assembled, there are tray assembly machines that are used for this process. After the production, necessary design is carried out.
Step 7: Package and Ship
As pointed out earlier, auto bottom trays are solely used by the end-user or company after they have been packaged for delivery. The trays can either be shipped in flat form or assembled depending on the means of transport and order of the client.
Get Autom Bottom Packaging Online in UK
Auto bottom tray packaging is highly suited for different industries because of its unfixed form and simple application. Thanks to its solid framework, simple operation, and attractive design, Healey Packaging provides customised packaging solutions in UK. You can get a free quote at help@healeypackaging.co.uk . You can also order Auto Bottom with Display Lid Boxes at wholesale rates.
| Dimension (L + W + H) | All Custom Sizes & Shapes |
|---|---|
| Quantities | No Minimum Order Required |
| Paper Stock | 210gsm, 250gsm, 280gsm, 300gsm, 350gsm, 420gsm, 460gsm, 500gsm, Bleach Card (SBS), Eco-Friendly Kraft, E-flute Corrugated, Bux Board, etc. |
| Printing | No Printing, CMYK, CMYK + 1 PMS color, CMYK + 2 PMS colors |
| Finishing | Gloss Lamination, Matte Lamination, Gloss AQ, Gloss UV, Matte UV, Spot UV, Embossing, Foiling |
| Included Options | Die Cutting, Gluing, Scoring, Perforation |
| Additional Options | Eco-Friendly, Recycled Boxes, Biodegradable |
| Proof | Flat View, 3D Mock-up, Physical Sampling (On request) |
| Turnaround | 7 – 10 Business Days, RUSH |
| Shipping | FLAT |
No FAQs available for this product.
Explore Our Premium Packaging Options
Mix and match materials, printing methods, inks, finishes, and add-ons.

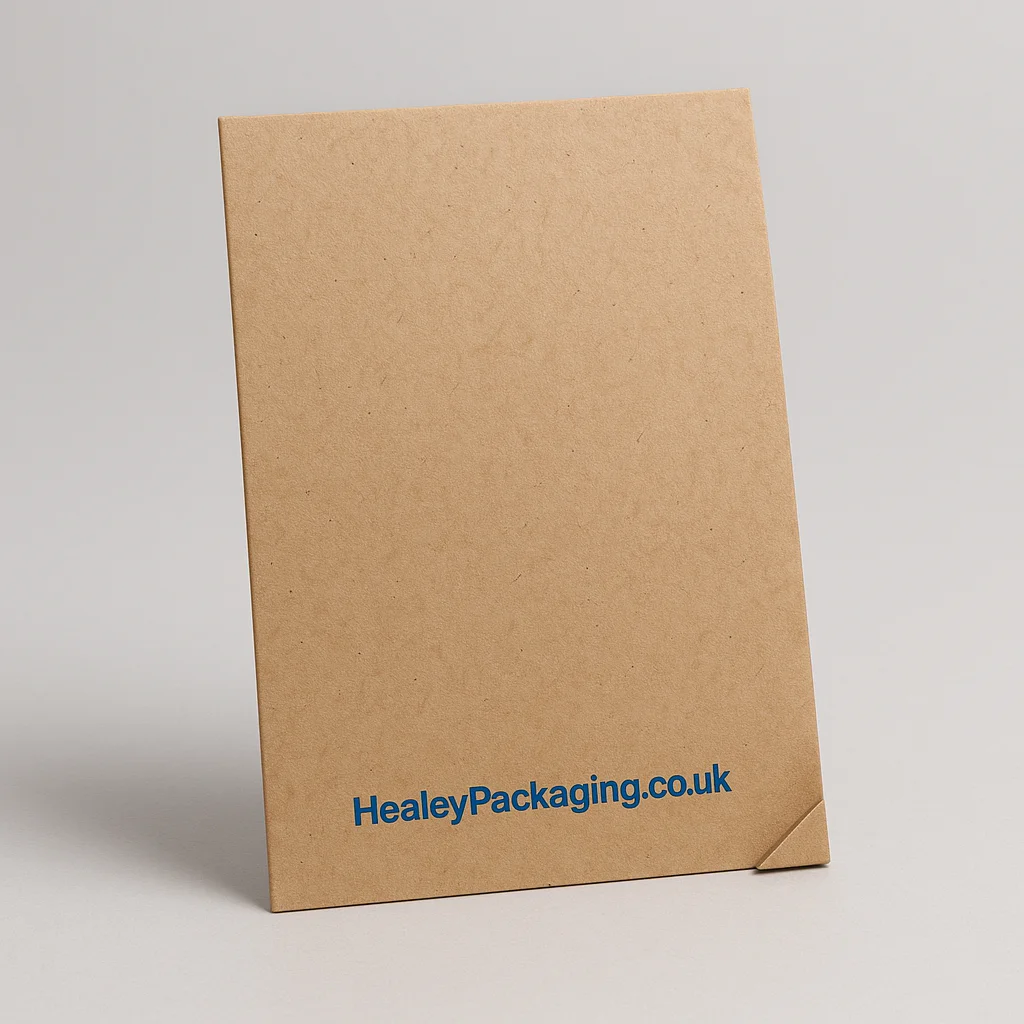
Natural Brown Kraft
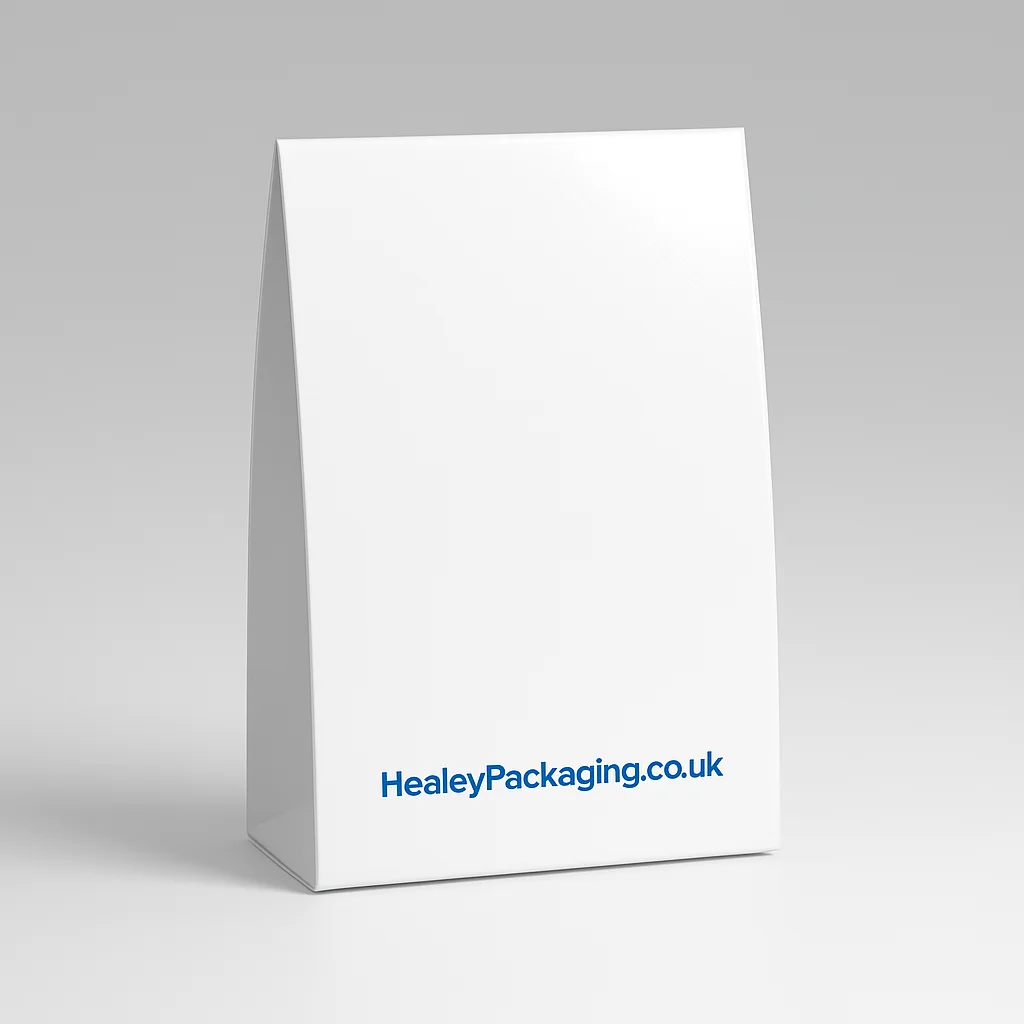
SBS / Bleach Card
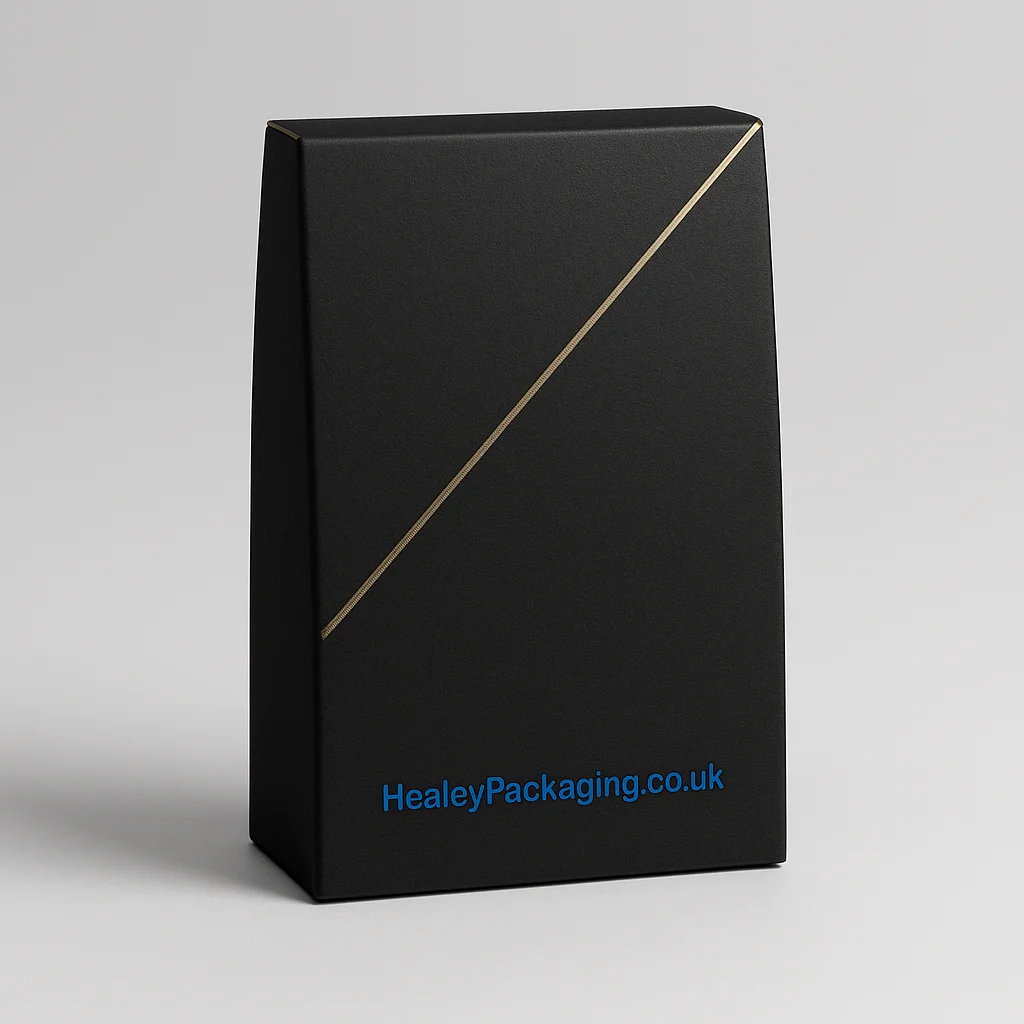
Black Kraft / Black Card
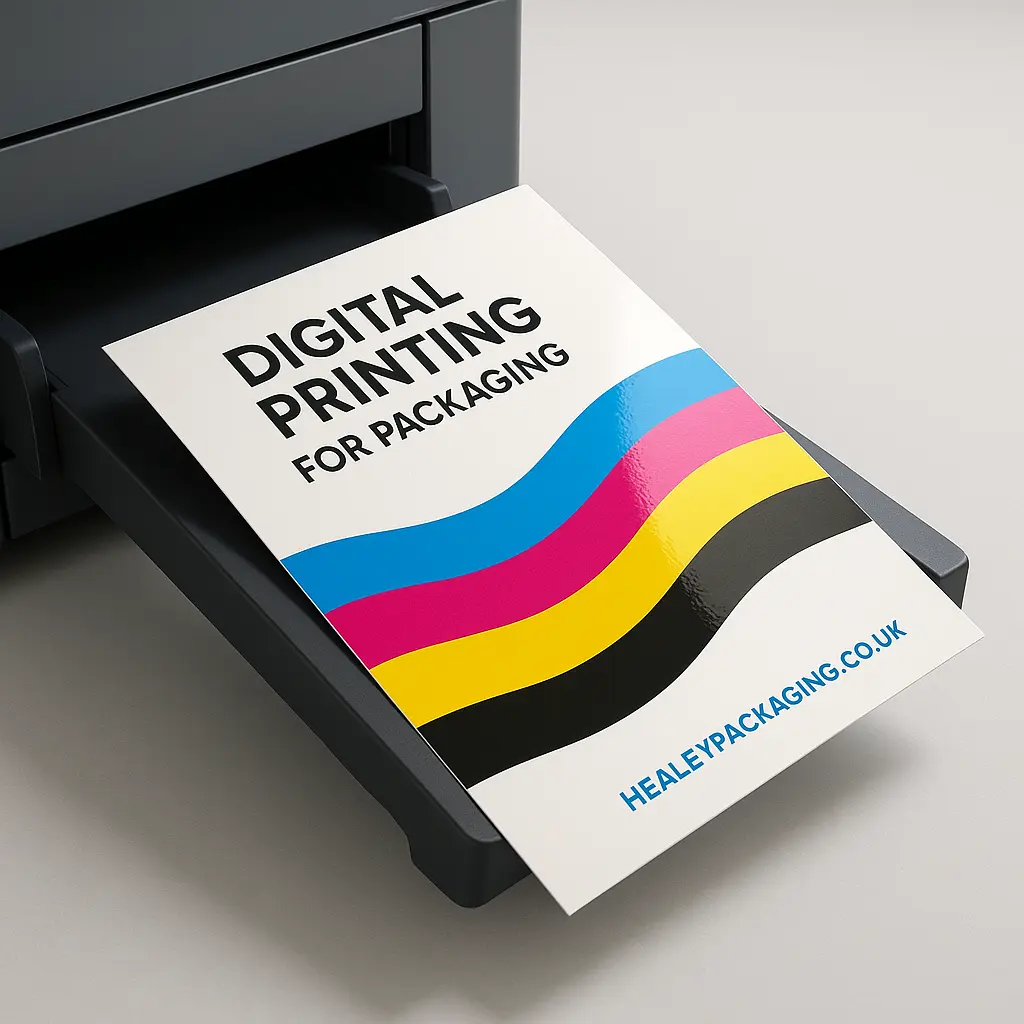
Digital Print
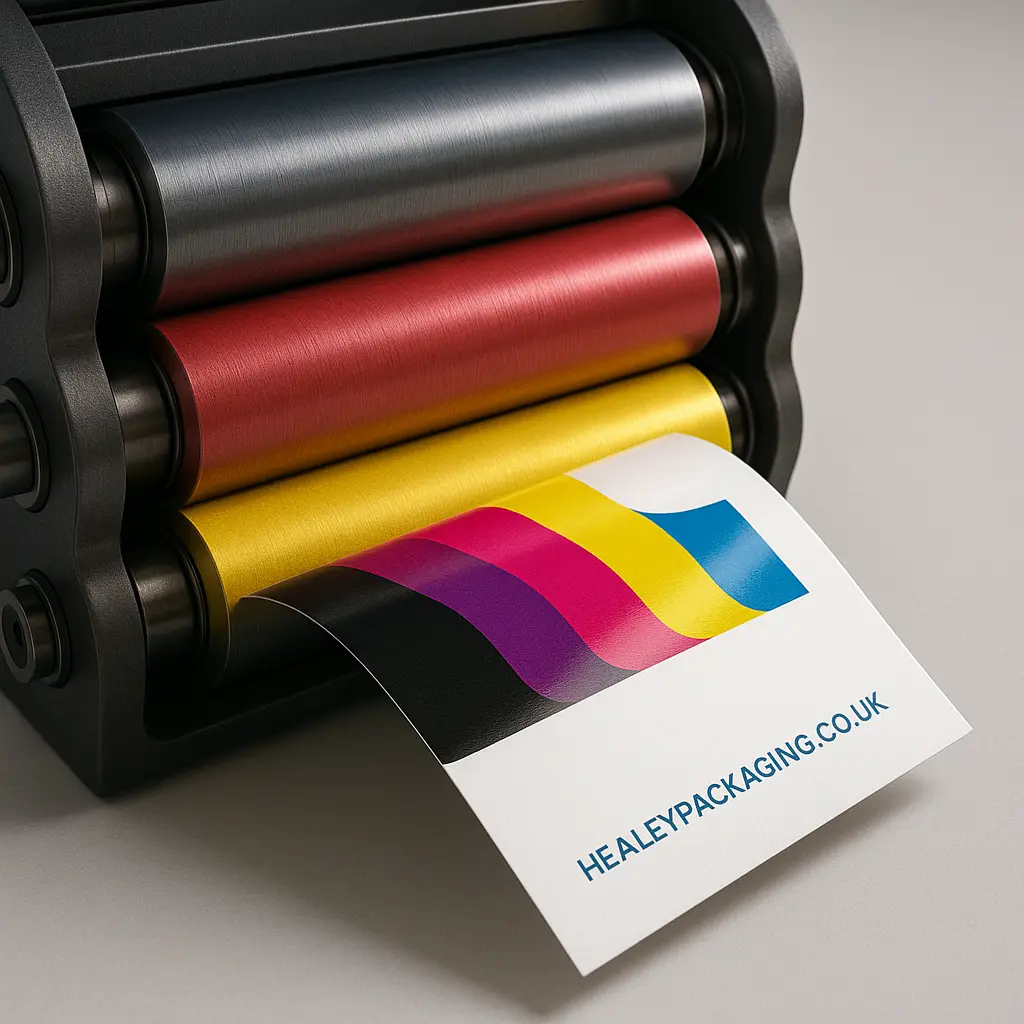
Offset Print
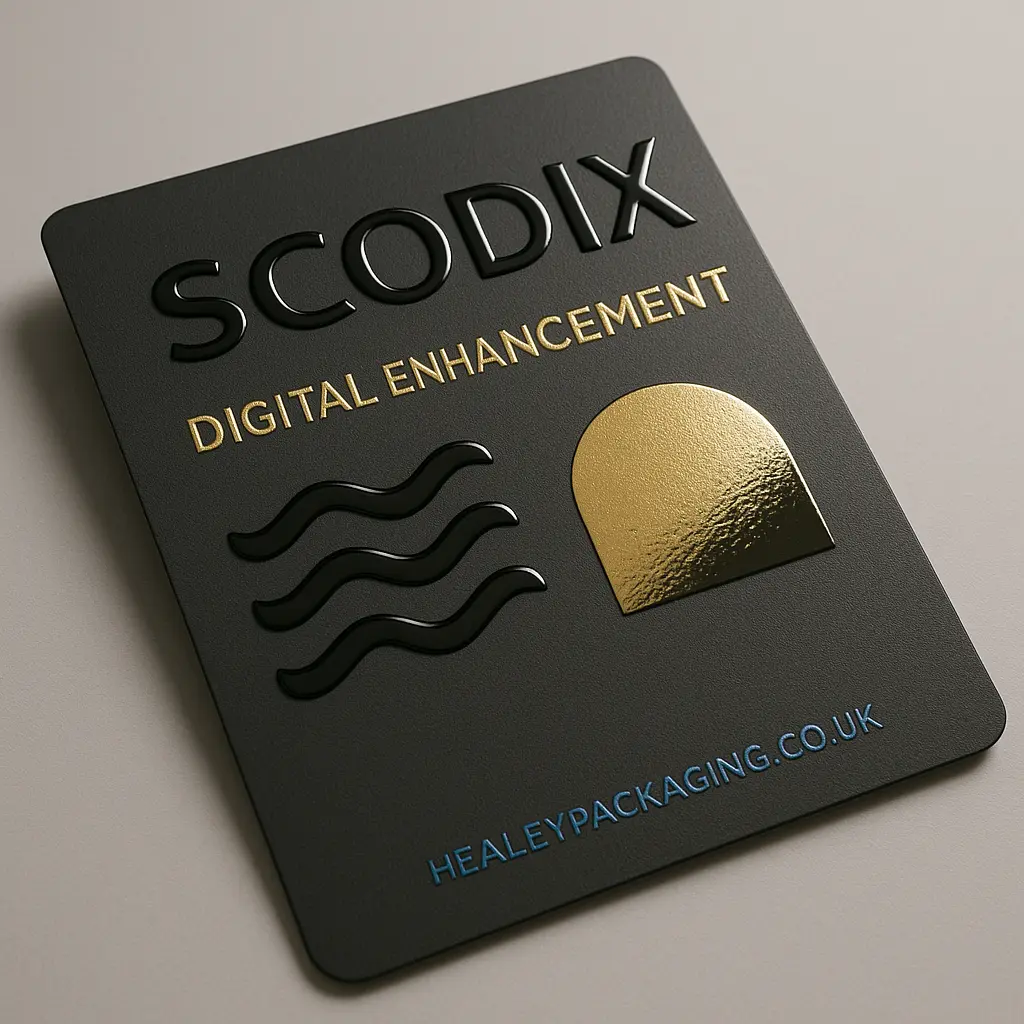
Scodix Enhancement
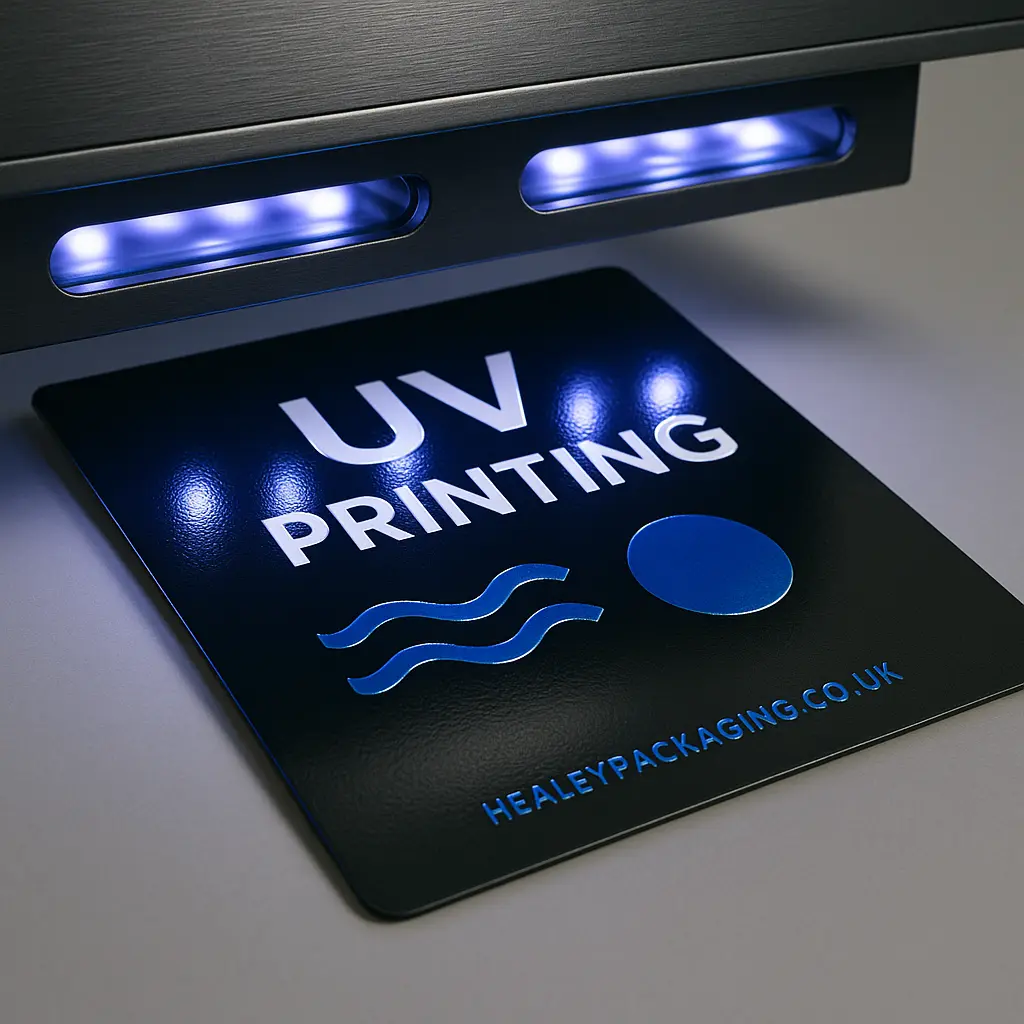
UV Print
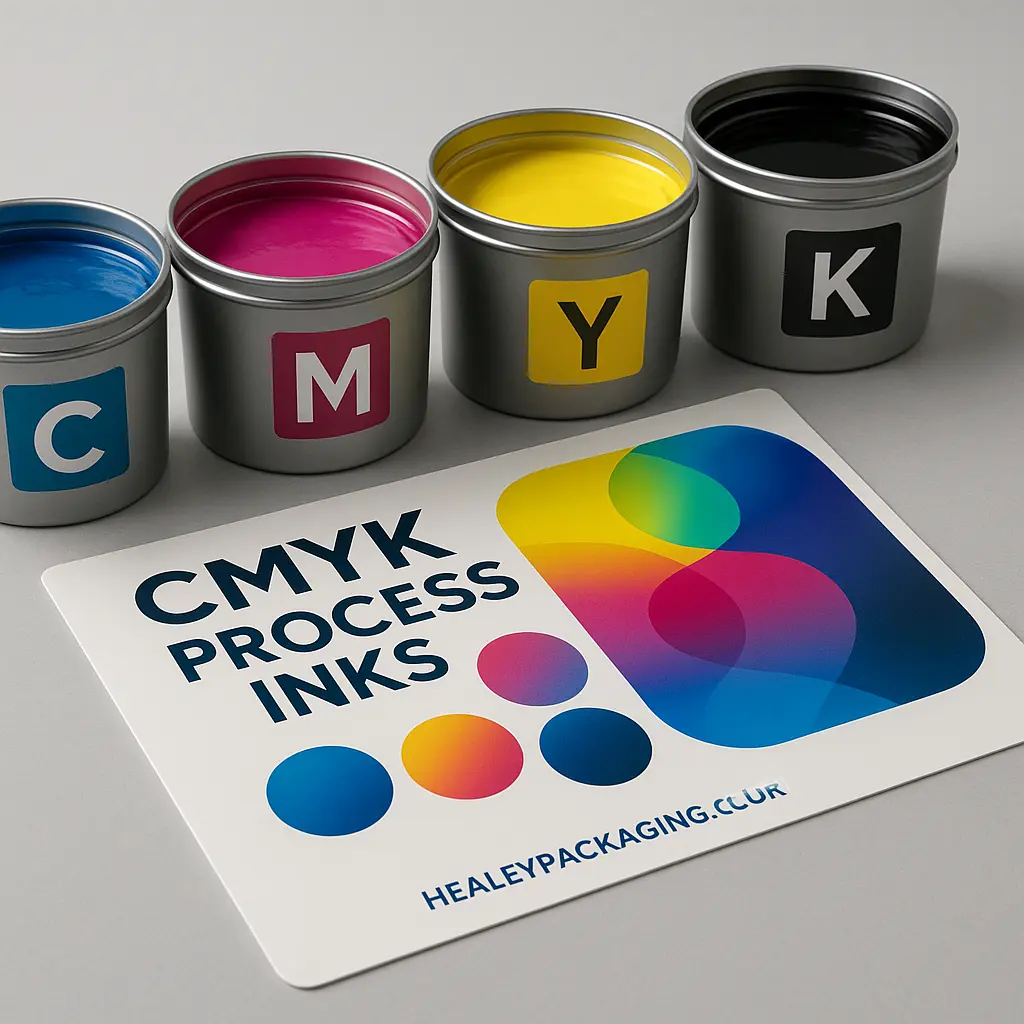
CMYK Process Inks
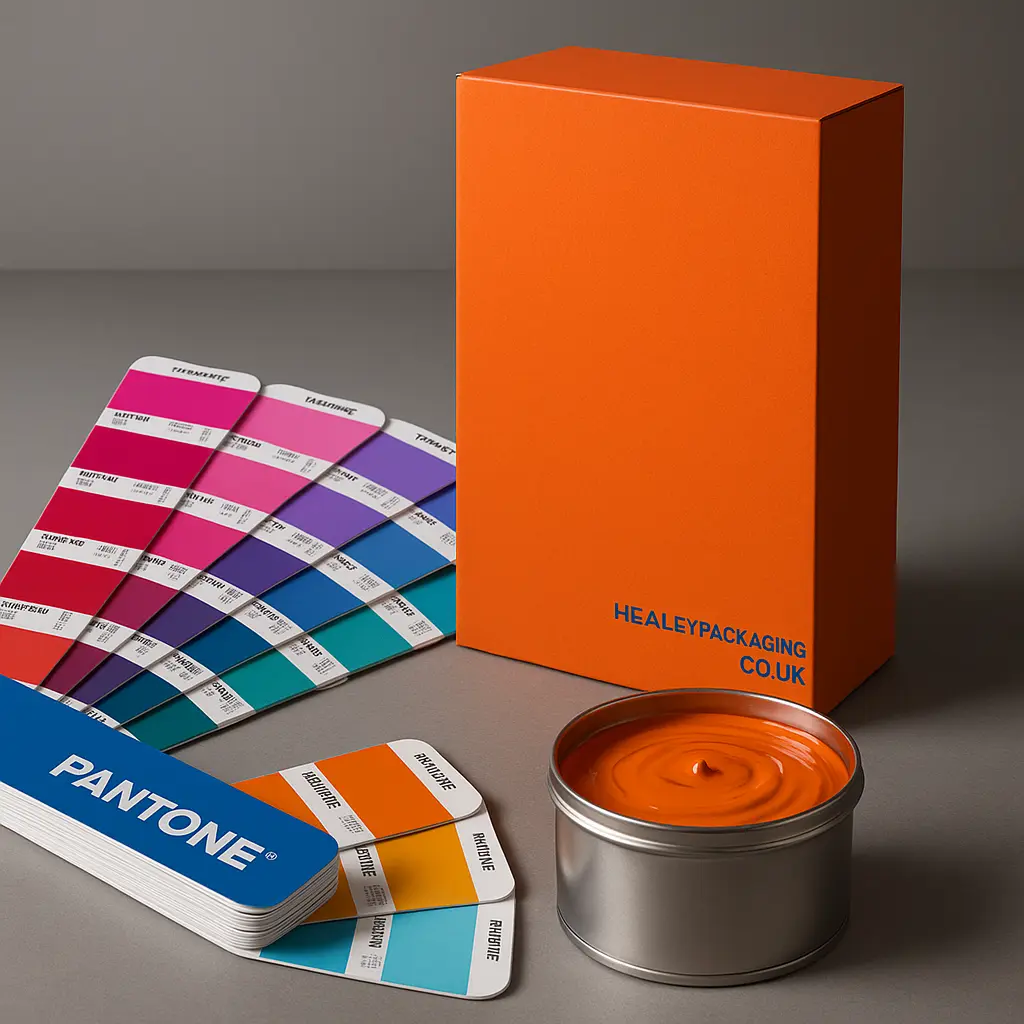
Pantone Spot Inks
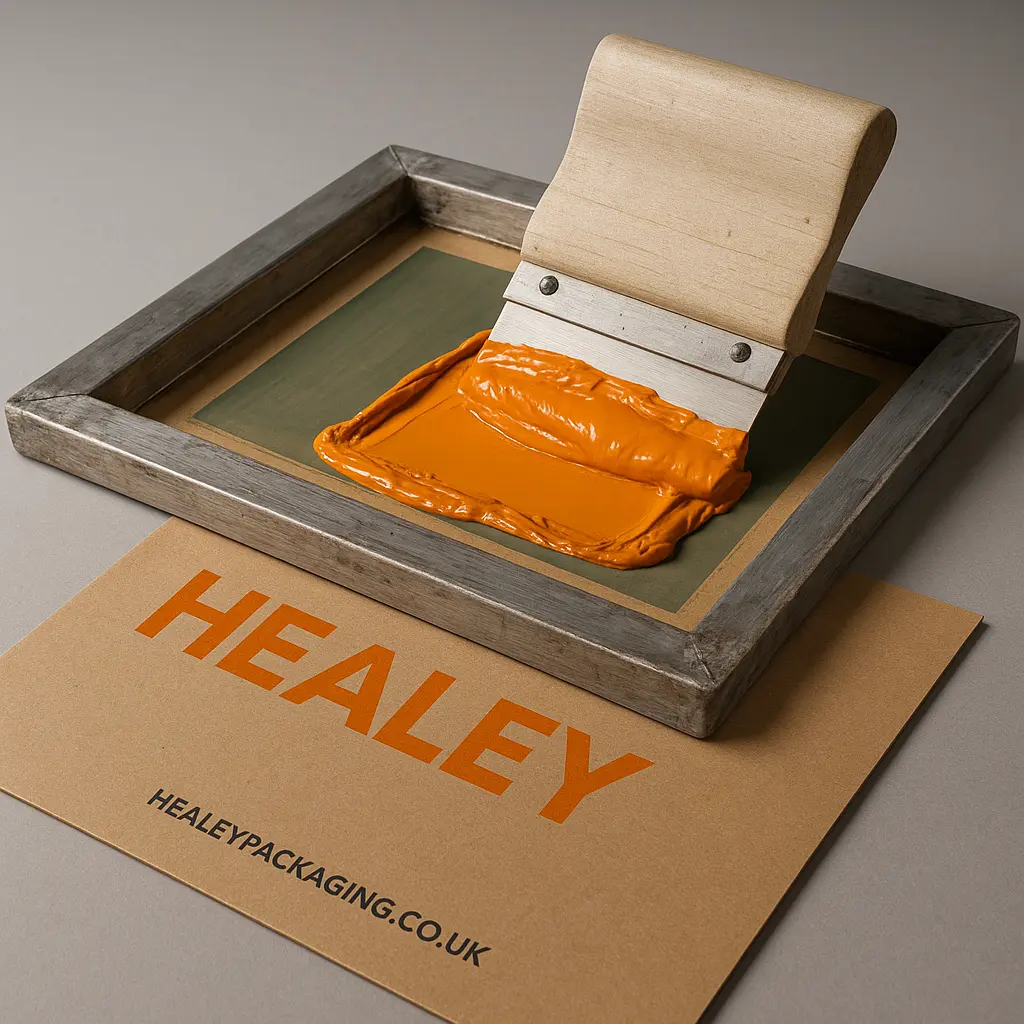
Screen Printing
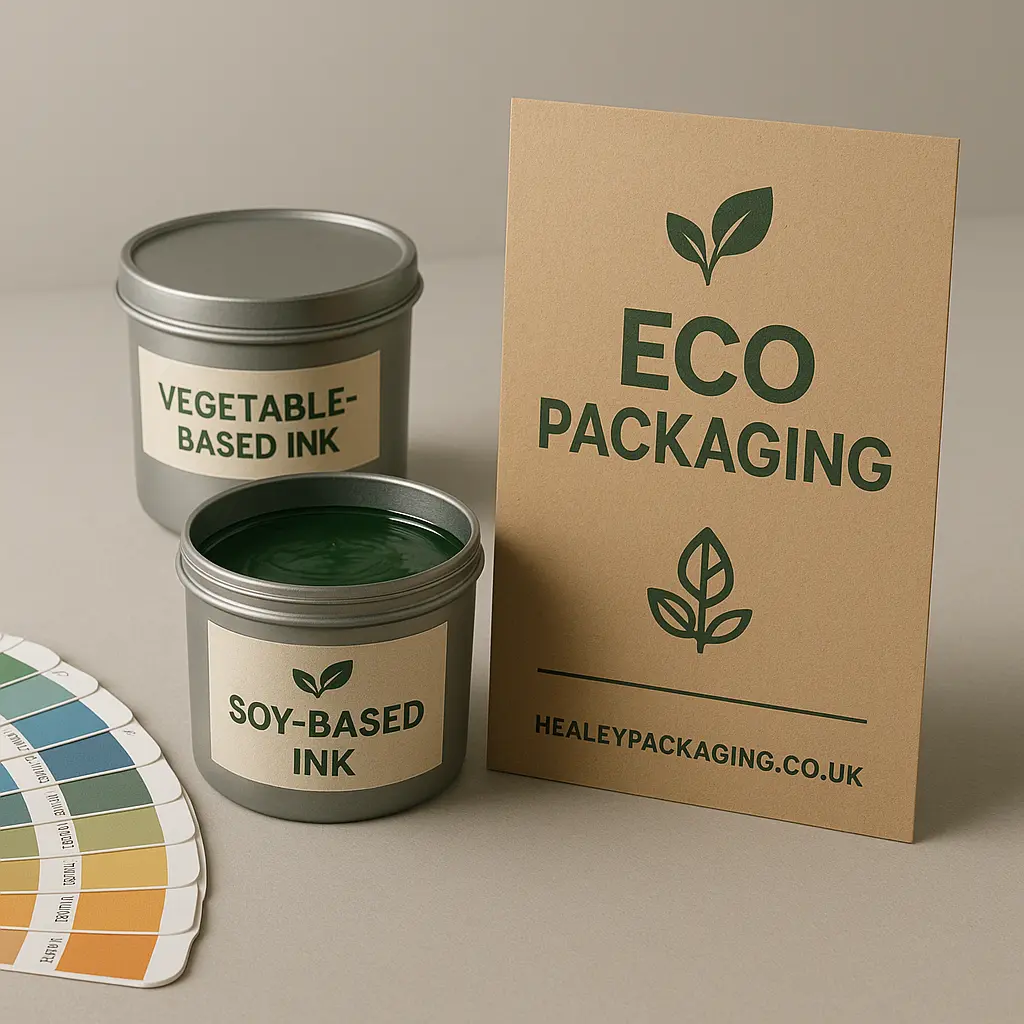
Soy / Vegetable Inks
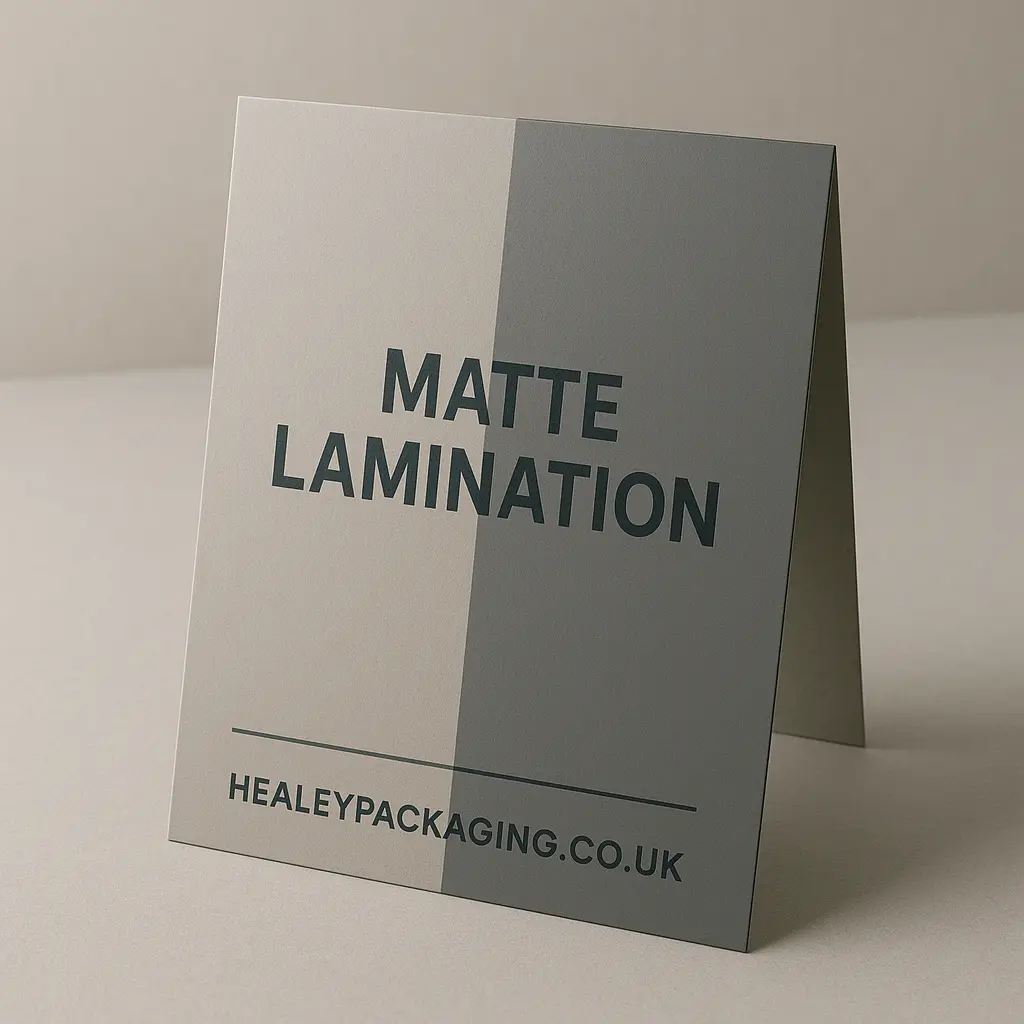
Matte Lamination
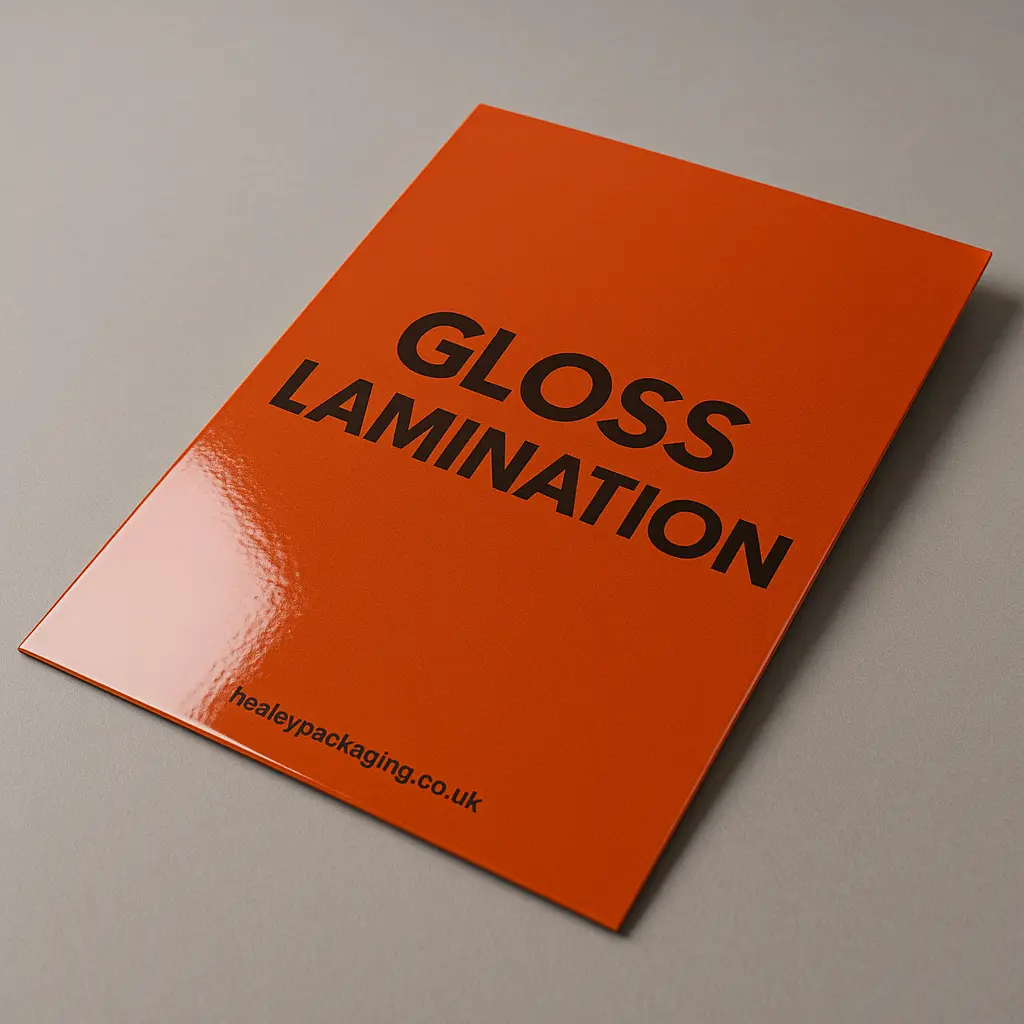
Gloss Lamination
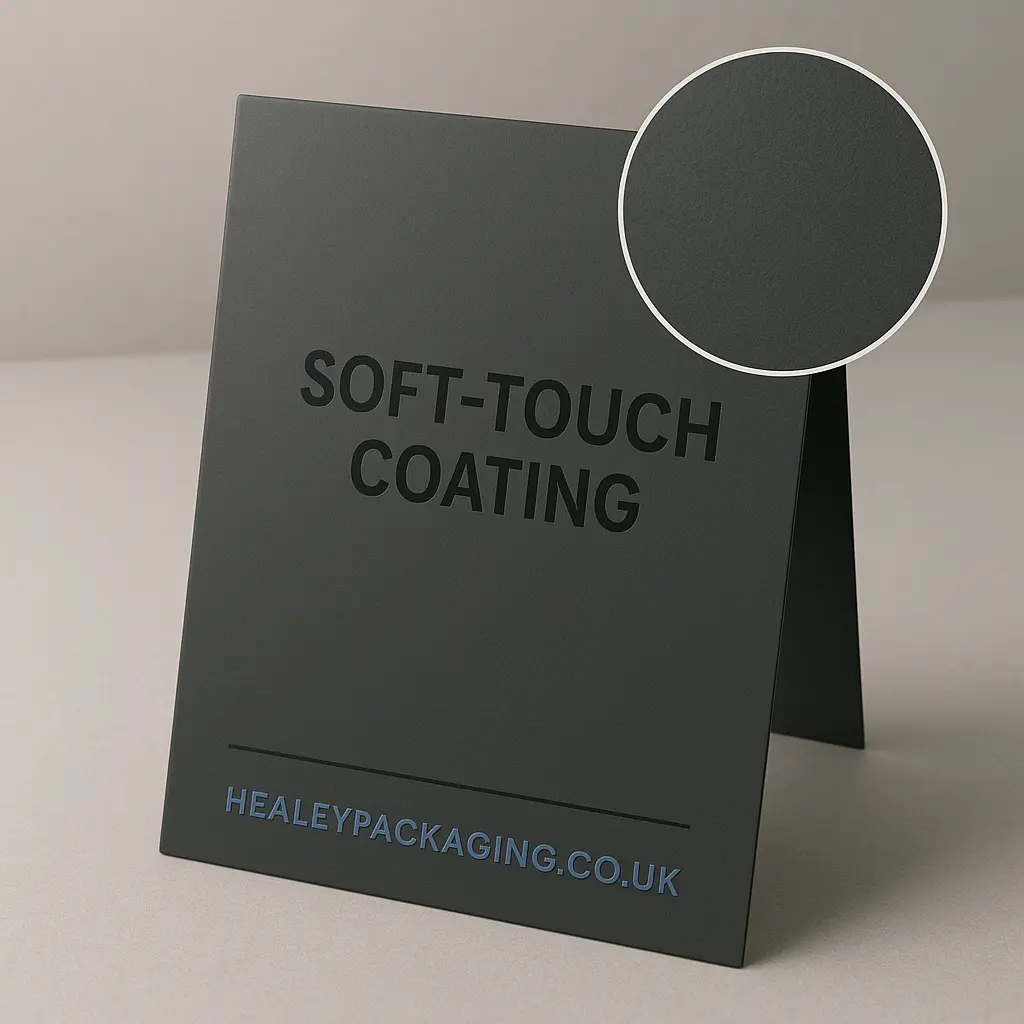
Soft-Touch Coating
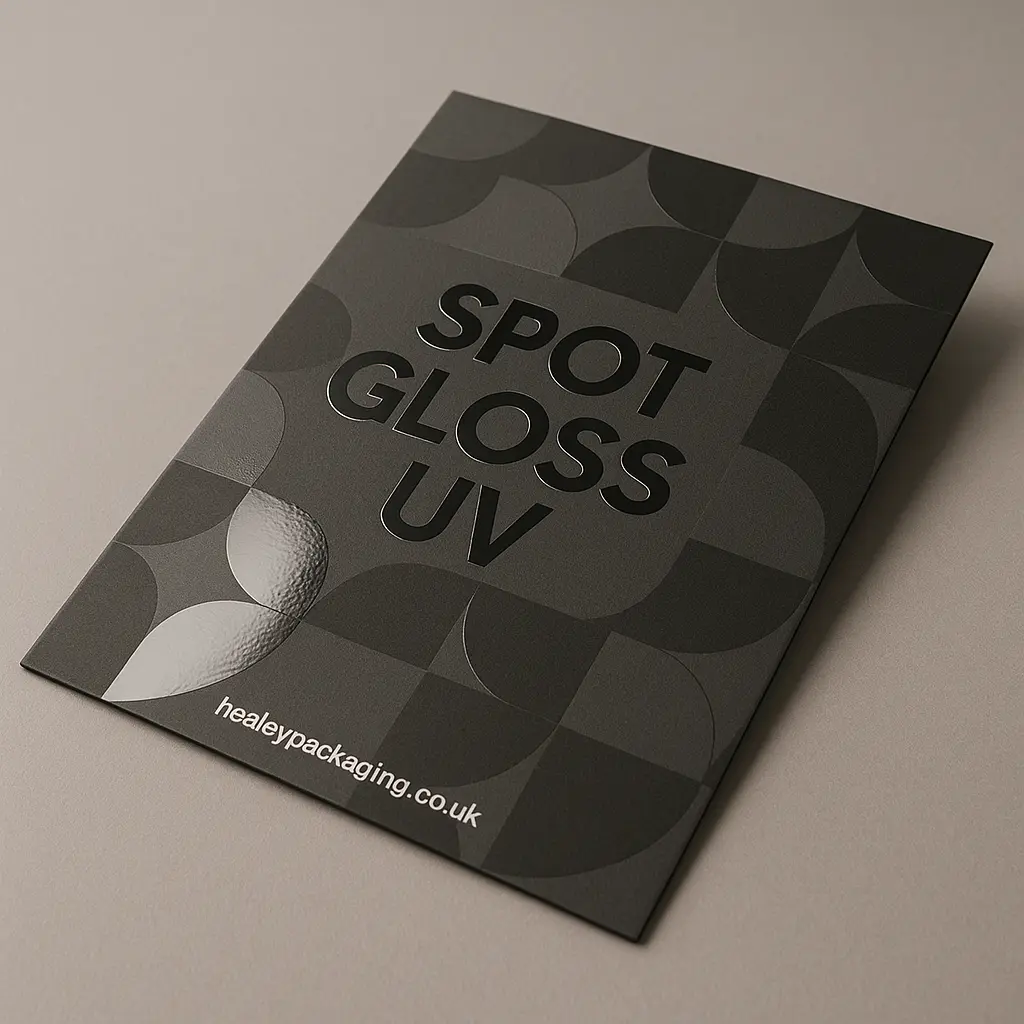
Spot Gloss UV
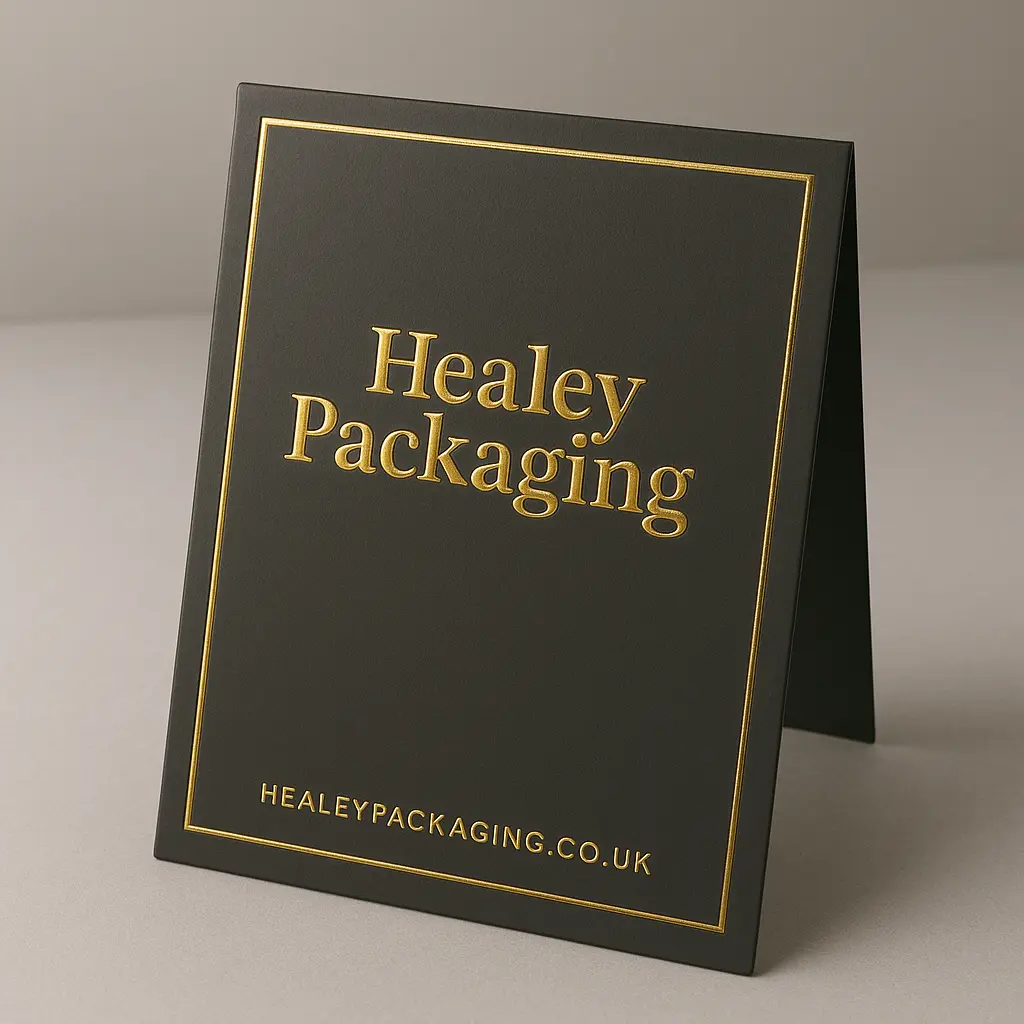
Foil Stamping
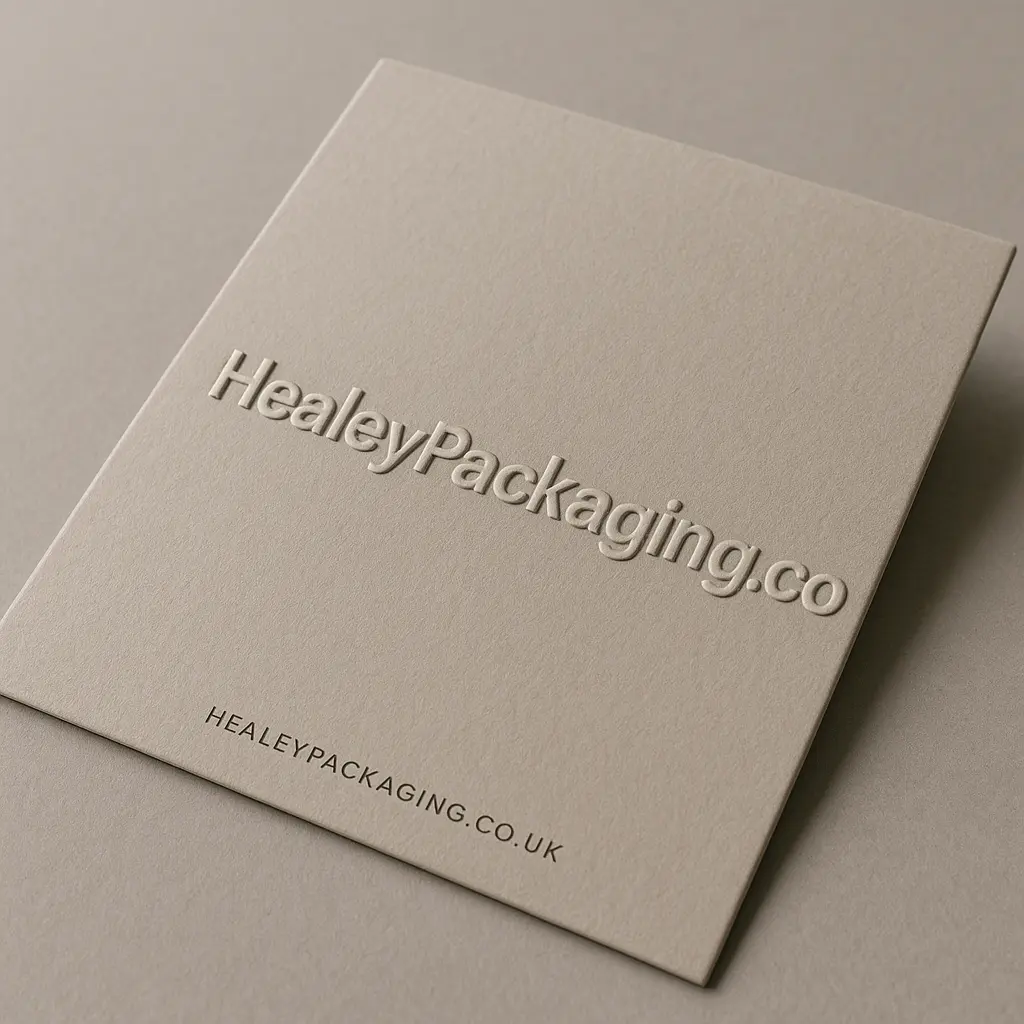
Embossing
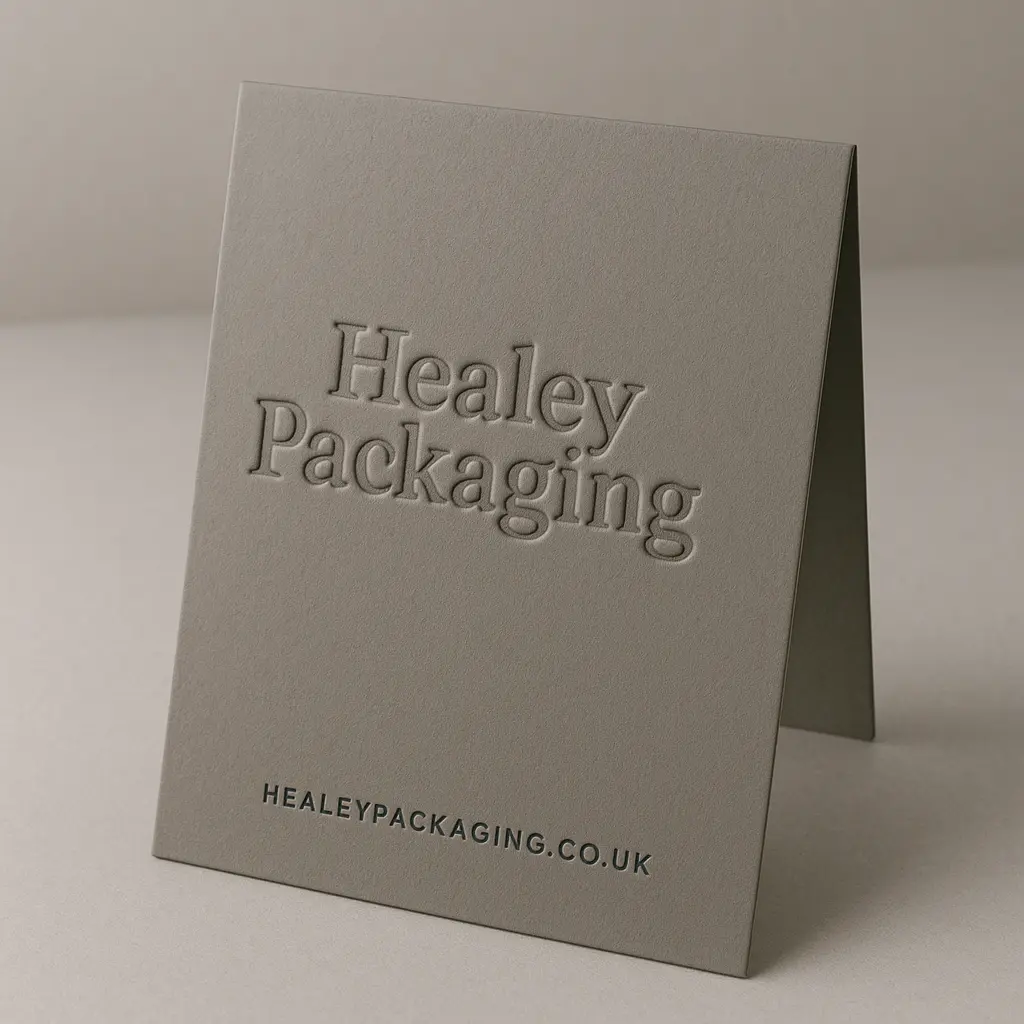
Debossing
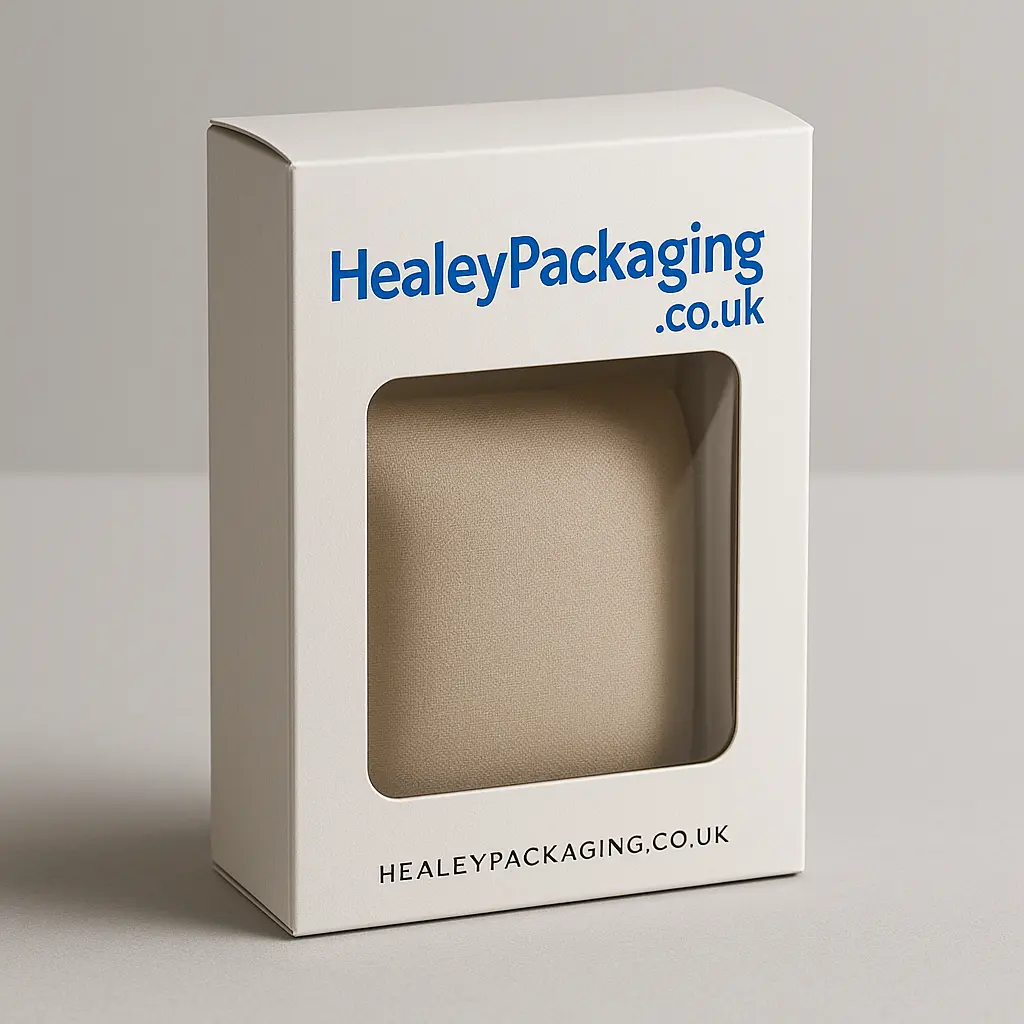
Die-Cut Windows
Why Brands Trust Us
We are not just box manufacturers. We help brands package smarter, ship safer, and sell better, without unnecessary complexity.
- Packaging Specialists Industry-focused structures, not generic templates.
- Low MOQ Support Start small, scale confidently.
- Material-First Engineering Right board, right strength, right finish.
- UK & Global Fulfilment Flat packed, secure, and delivery-ready.
Our Process
Share your product size, quantity, and use-case.
We recommend structure, material, and finish.
Approve dieline or sample before production.
Manufacturing, quality check, and delivery.

