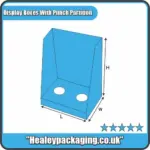
Display Boxes With Punch Partition
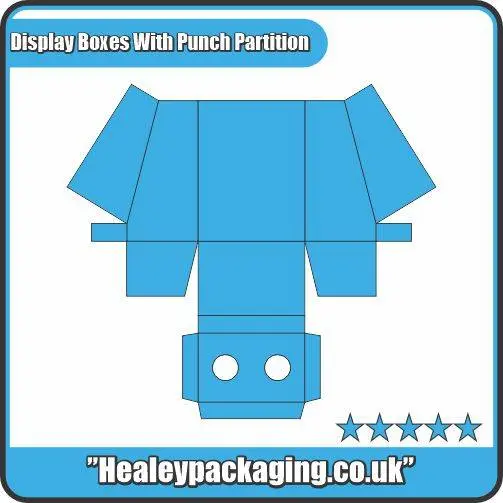
Punch partition display boxes are adaptable storage. They have a solid kraft and cardboard case with disassembled parts. Its partitions are punched, so you can tailor them to suit items. These boxes are perfect to hold and display little objects like jewelry, candy, or office equipment. They are ubiquitously seen in shops, shows and in our homes. It’s divided into panels that you can just move in and out of whenever you want.
Get Your Custom Quote
Share your box details and we will send your price.
Display Boxes with Punch Partitions
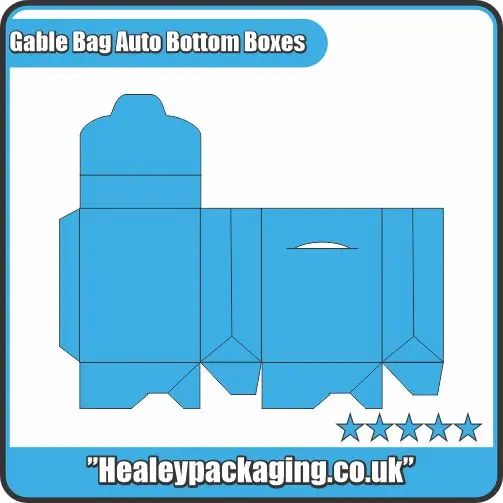
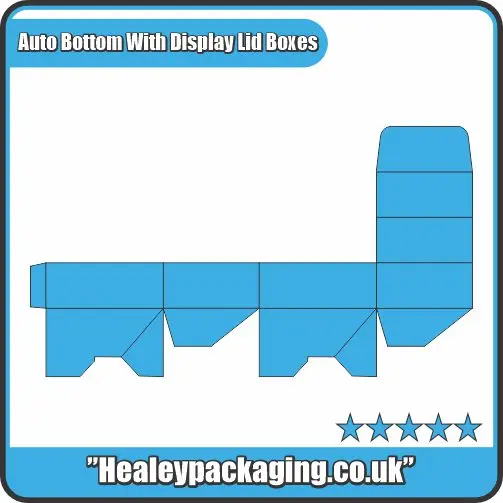
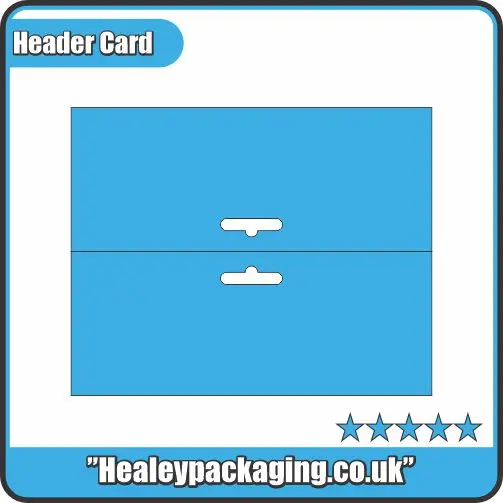
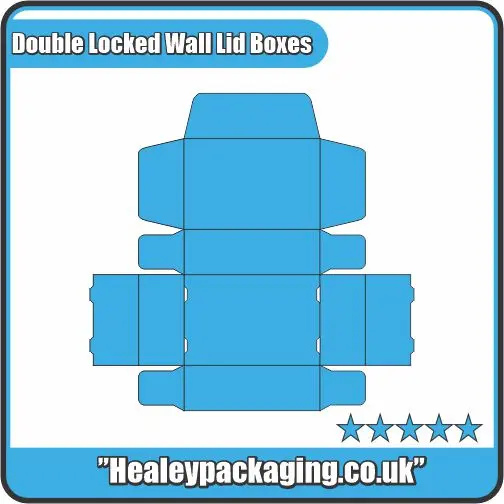
Punch partitioned display boxes are a critical part of the retail and product display. These boxes are a very nice, structured way to present the products to customers to get them more prominent and easy to see. The punch partition structure is modular for quick and easy product placement. We will walk you through designing templates for punch partitioned display boxes in this post, with several types of templates and design tips.
Template Type 1: Square Display Boxes
A rectangle display box is the all-purpose and favorite type of display box. This kind of box is great for storing small to medium sized objects, like cosmetics, jewelry, or devices. : If you’re building a rectangular display box template, first calculate the size and weight of the box.
Think about the dimensions and appearance of the goods being sold, durability and mobility you would like. Next, pick a punch partition pattern that works with both the products and the box style. Choose how many shelves or compartments to put and where and include any additional designs, like logos or text.
Tutorial on how to Create a Rectangular Display Box Template.
- Size and material of box: Determine the size and form of the items you would like to display and the durability and flexibility you need.
- Pick a punch partition design: Choose one that fits the products and the box design well. There are straight, curved or angled partitions.
- Figure out how many shelves or compartments you want: Think about the size and shape of the products, visibility and accessibility level.
- Add more design touches: Add logos, words or images to make the box more visually appealing and add branding.
Type 2: Counter Display Box
A counter display box provides a small and effective solution to advertise products at a retail counter or at a check-out desk. It is the perfect size box to put small items, like candy, gum or impulse buys.
If you are building a counter display box template, keep in mind how small space is and how accessible you want to be. Pick a punch partition layout that’s as visible as possible while reducing clutter. Choose how many shelves or compartments to include, and add other design elements like logos or text.
Create a Counter Display Box Template Step by Step Guide.
- Find out how big the box will be and what kind of material it will be made of: Keep in mind how much space you have on the counter, and if you need something durable and easy to carry.
- Design a punch partition: Design a punch partition to let products show through as little as possible. It can be straight, curved or angle partitions.
- Pick out how many shelves or compartments you want: Think about how big and what shape products are, and if they should be accessible easily.
- Add additional design details: Include logos, text, or photos to make the box more eye-catching and help build branding.
Template type 3: Floor Display Box
A floor display box is a huge and great way to exhibit goods on the store floor. The type of box works perfectly for storing heavy or heavy goods, like electronics, appliances, or furniture.
Consider the need for sturdiness and resistance, along with an eye-catching design, when designing a floor display box template. Select a punch partition style that matches the products and the box style. Choose how many shelves or compartments you want and add any additional designs (logos, text).
Tutorial on How to Create a Floor Display Box Template Step by Step
- Size and type of box: Think of stability and toughness, but also want to give it a pretty appearance.
- Choose a punch partition pattern: Choose one that is compatible with the products and box style. You can select between straight, curved, or angled partitions.
- Choose number and arrangement of shelves or compartments: Consider product size and shape, easy accessibility, etc.
- Design some further: Add logos, copy or images to give the box an additional visual dimension and help branding.
Template Style 4: Default Display Box
Custom display box: It is designed for displaying specialty or special products. Such a box is perfect for showing things that you need a particular layout or design, such as art, antiques, or expensive electronics.
When making a custom display box template, think about the product you need to display. Select a punch partition style that goes well with the products and the look of the box. Choose how many and where to add shelves or compartments, and any other design elements like logos or text.
Guide to Build a Custom Display Box Template Step by Step.
- Find out the box size and material: Take into account the needs and specifications of the products that need to be shown, as well as how durable and portable they want to be.
- Design punch partitions: Choose one that works with the products and the box design. There are straight, curved, and angled partitions.
- Pick out the shelves or compartments: Size, shape and access to the products.
- Add more visual elements: Add logos, copy or images to make the box visually more attractive and support branding.
Guide to Designing Good Display Boxes…
- Simplicity: Don’t overload the box with design details or divides.
- Think product: Create the box with the product in mind, its size, shape and weight.
- Make sure it is of quality materials: Use materials that are durable, strong, and stylish.
- Lighting Note: Think of the lighting in the store and make the box as visible as possible.
Order Printed Display Boxes Online
Healey Packaging provides unch partitioned display boxes at cheaper rates. You can easily use them to display products at your shops. Moreover, you can design display boxes online and get our graphic designing support. There are unlimited free quotes for each printed box. Contact us at help@healeypackaging.co.uk.
| Dimension (L + W + H) | All Custom Sizes & Shapes |
|---|---|
| Quantities | No Minimum Order Required |
| Paper Stock | 210gsm, 250gsm, 280gsm, 300gsm, 350gsm, 420gsm, 460gsm, 500gsm, Bleach Card (SBS), Eco-Friendly Kraft, E-flute Corrugated, Bux Board, etc. |
| Printing | No Printing, CMYK, CMYK + 1 PMS color, CMYK + 2 PMS colors |
| Finishing | Gloss Lamination, Matte Lamination, Gloss AQ, Gloss UV, Matte UV, Spot UV, Embossing, Foiling |
| Included Options | Die Cutting, Gluing, Scoring, Perforation |
| Additional Options | Eco-Friendly, Recycled Boxes, Biodegradable |
| Proof | Flat View, 3D Mock-up, Physical Sampling (On request) |
| Turnaround | 7 – 10 Business Days, RUSH |
| Shipping | FLAT |
No FAQs available for this product.
Why Brands Trust Us
We are not just box manufacturers. We help brands package smarter, ship safer, and sell better, without unnecessary complexity.
- Packaging Specialists Industry-focused structures, not generic templates.
- Low MOQ Support Start small, scale confidently.
- Material-First Engineering Right board, right strength, right finish.
- UK & Global Fulfilment Flat packed, secure, and delivery-ready.
Our Process
Share your product size, quantity, and use-case.
We recommend structure, material, and finish.
Approve dieline or sample before production.
Manufacturing, quality check, and delivery.

