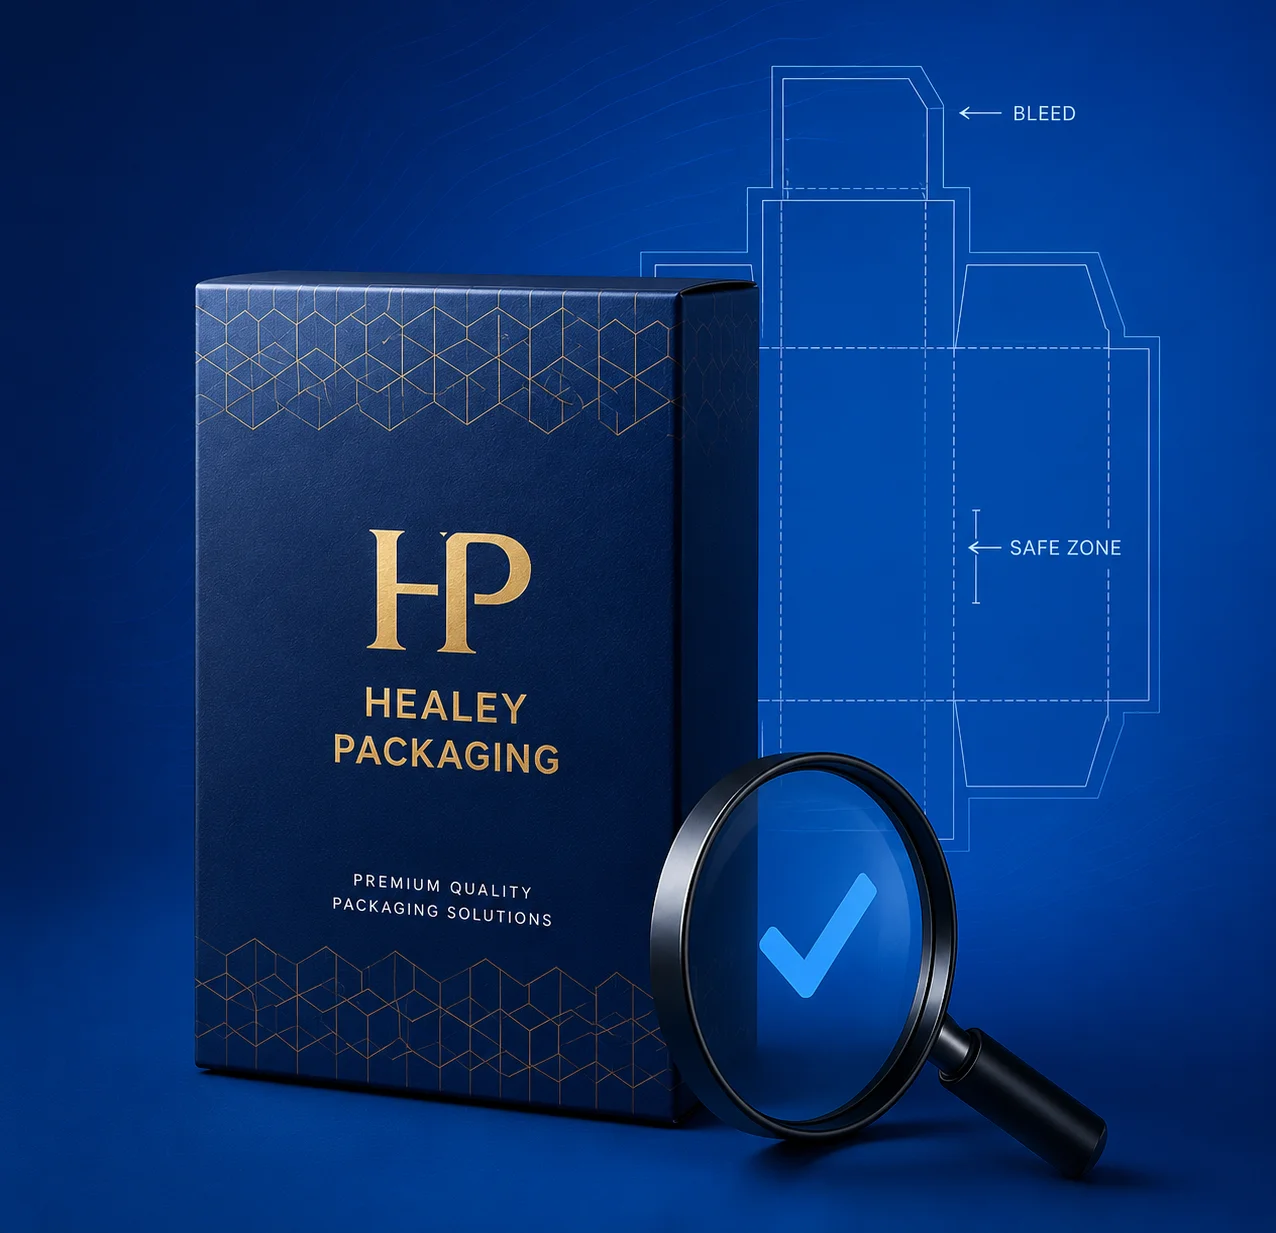
Artwork Guidelines for Print-Ready Packaging
Create print-ready packaging artwork with confidence. Whether you’re designing your own packaging or working with a graphic designer, preparing artwork correctly is essential for achieving professional printing results.
Incorrect file setup can cause colour shifts, blurred graphics, missing text, production delays and unnecessary revision costs. This guide explains everything you need to know before submitting your artwork to Healey Packaging.
First Time
Review
Resolution
Formats
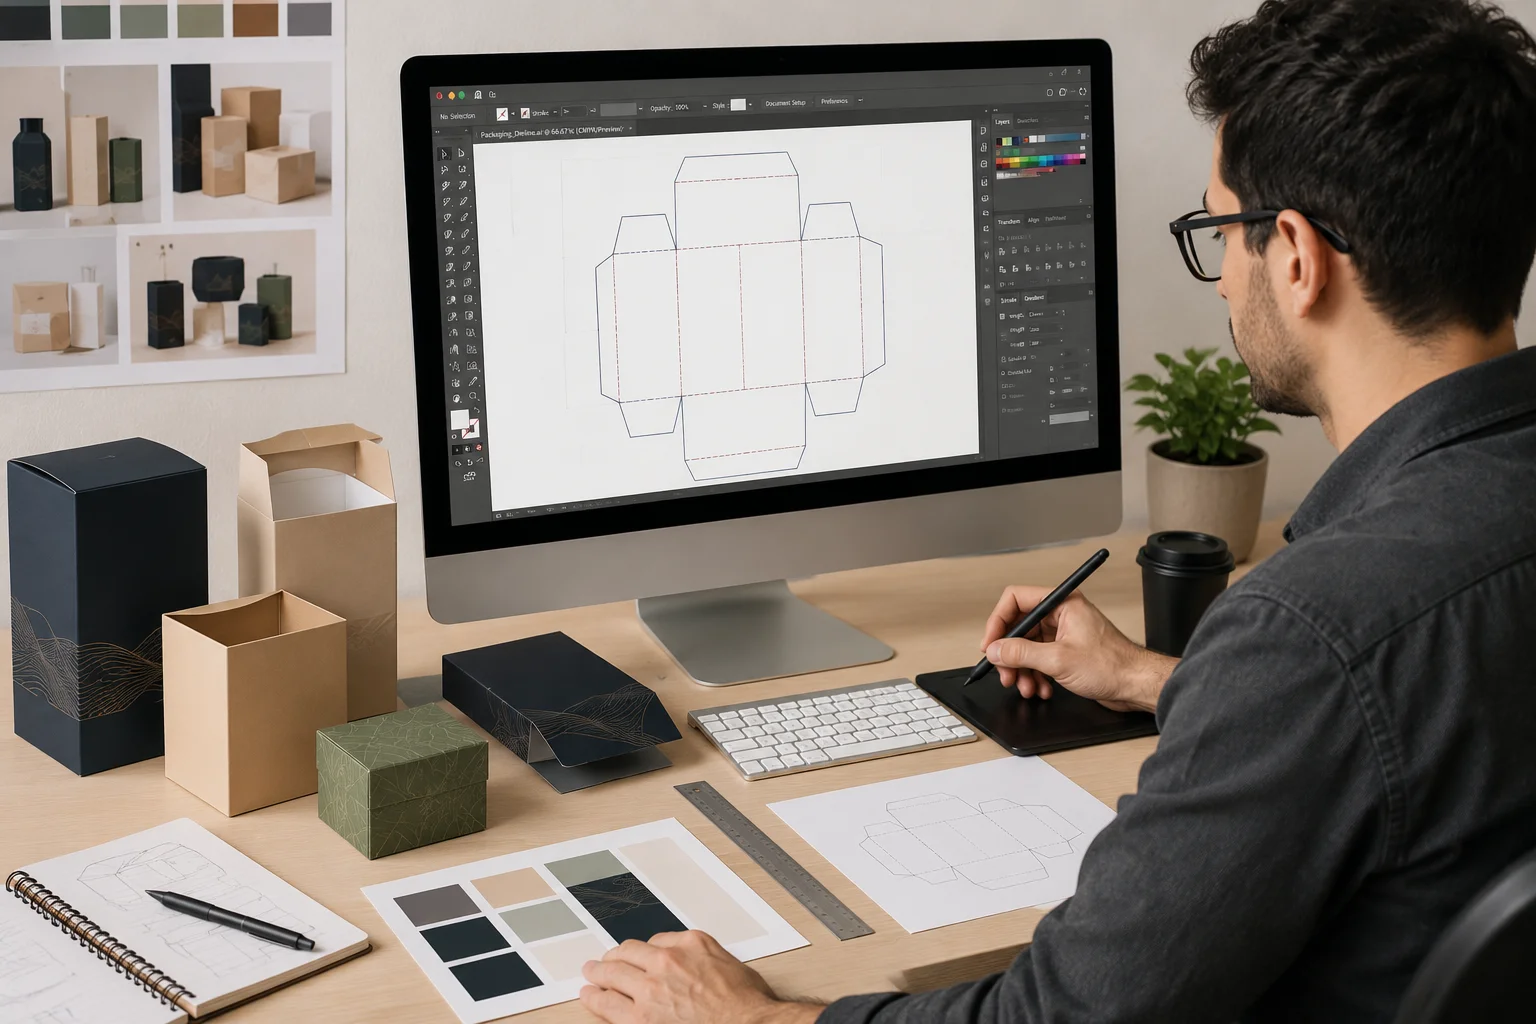
Packaging Artwork Starts with the Right Dieline
Packaging artwork is different from designing a flyer or business card. Every box is manufactured from a structural dieline, so your design must fit the exact cutting, folding and glue areas before it can move into production.
Always request the final approved dieline from Healey Packaging before beginning your artwork. This helps avoid layout issues, artwork misalignment and production delays.
Our Accepted Artwork File Formats
For the highest print quality, we recommend supplying editable vector artwork whenever possible. Vector files maintain sharp graphics, accurate dimensions and maximum flexibility during pre-press.
Preferred Formats
Recommended for professional packaging artworkAlso Accepted
Suitable when vector artwork is not availableUse CMYK Colour Mode for Print Accuracy
Commercial packaging is printed using CMYK inks rather than RGB colours displayed on digital screens. Artwork supplied in RGB may appear brighter on your monitor than the final printed packaging.
Before Exporting Your Artwork
- Convert all artwork to CMYK
- Convert placed images to CMYK
- Avoid relying on screen colours for final approval
Need exact brand colour matching?
If colour accuracy is critical to your brand, please provide your Pantone (PMS) references where applicable. CMYK is recommended for process printing, while Pantone colours help with more controlled brand colour matching.
300 DPI vs 72 DPI Understanding the Difference
Image resolution plays a critical role in print quality. Choosing the right DPI ensures sharp detail, clean text and professional results on your packaging.
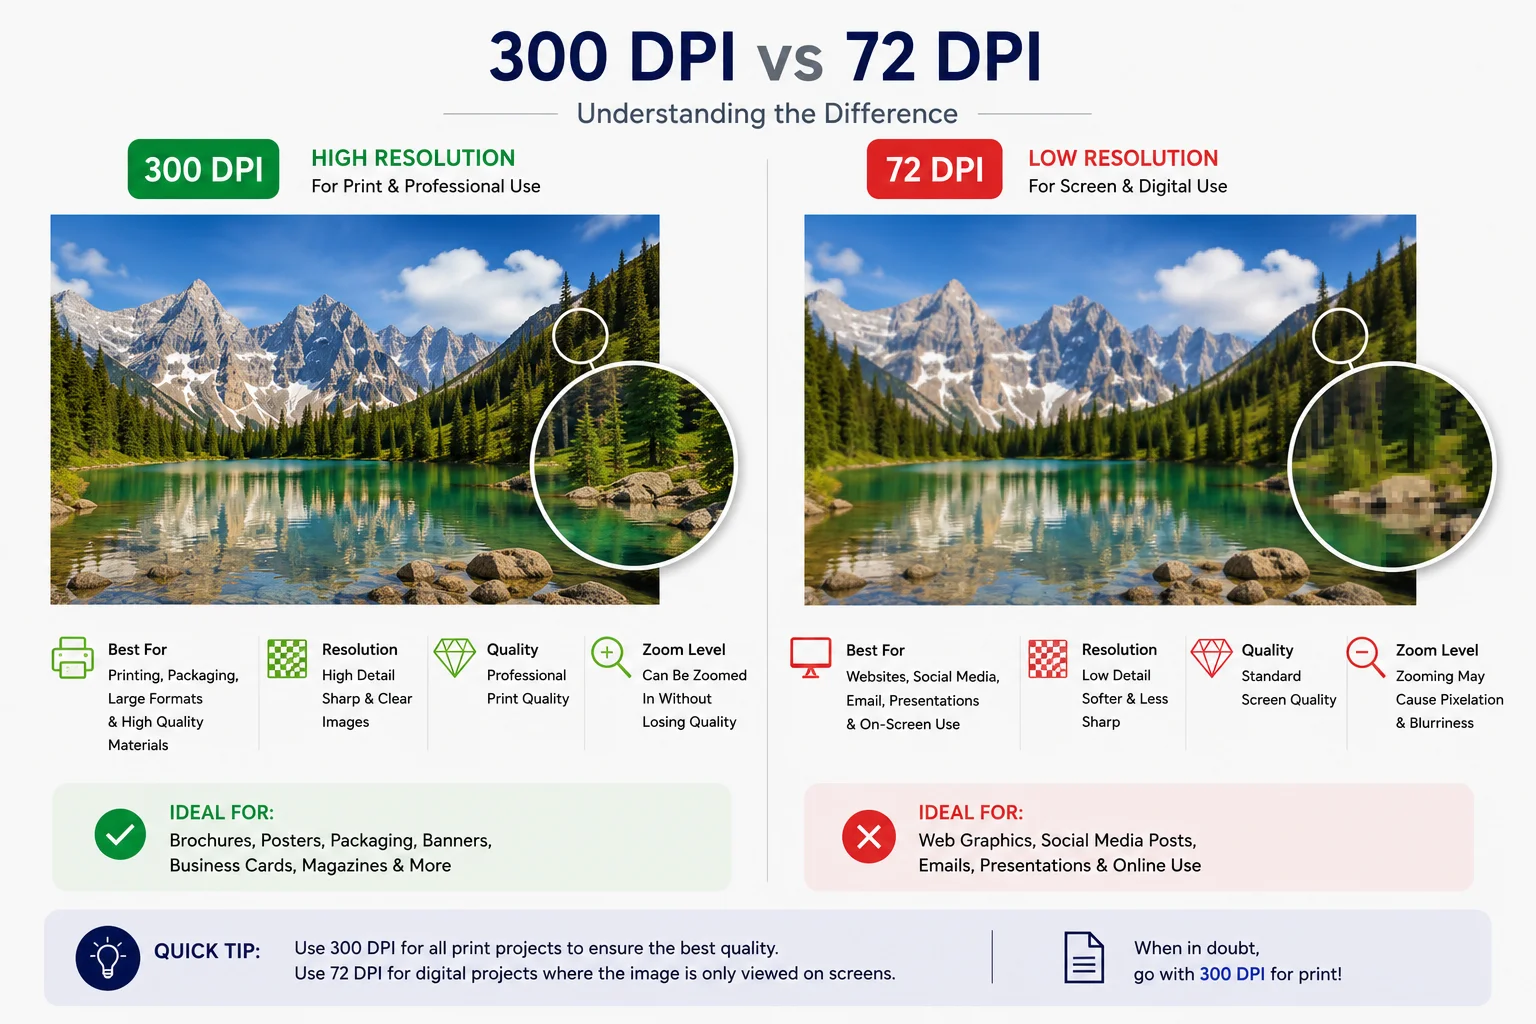
Quick Tip: Use 300 DPI for packaging artwork. Use 72 DPI only for digital images viewed on screens.
We Recommend
- Minimum 300 DPI
- Images at final print size
- Original photography wherever possible
Avoid
- Screenshots
- Social media images
- Website images
- Compressed JPEG files
Bleed, Trim Line and Safe Zone
Packaging is trimmed after printing, and small cutting tolerances are normal during production. To avoid unwanted white edges or misplaced artwork, your design should include bleed, trim and safe zones.
Bleed
Extend all background colours and images at least 3 mm beyond the cut line.
Trim Line
The trim line marks the final edge of the packaging after cutting.
Safe Zone
Keep logos, text and important graphics at least 3 mm inside the trim line.
Prepare Fonts Correctly Before Printing
Missing fonts can cause text reflow, layout changes and unexpected printing results. Before submitting artwork, either convert text to outlines or include all font files with your project.
Layout may change
as designed
Recommended Workflow
- Convert all text to outlines
- Or include every font used in your artwork
- Export a press-quality PDF after outlining
Converting fonts to outlines removes the dependency on installed fonts, ensuring your typography prints exactly as intended across every production system.
Keep Dielines and Artwork Layers Separate
Do not modify the structural dieline supplied by Healey Packaging. Keeping cut lines, fold lines, glue areas, artwork and special finishes on separate layers helps avoid production errors and speeds up prepress review.
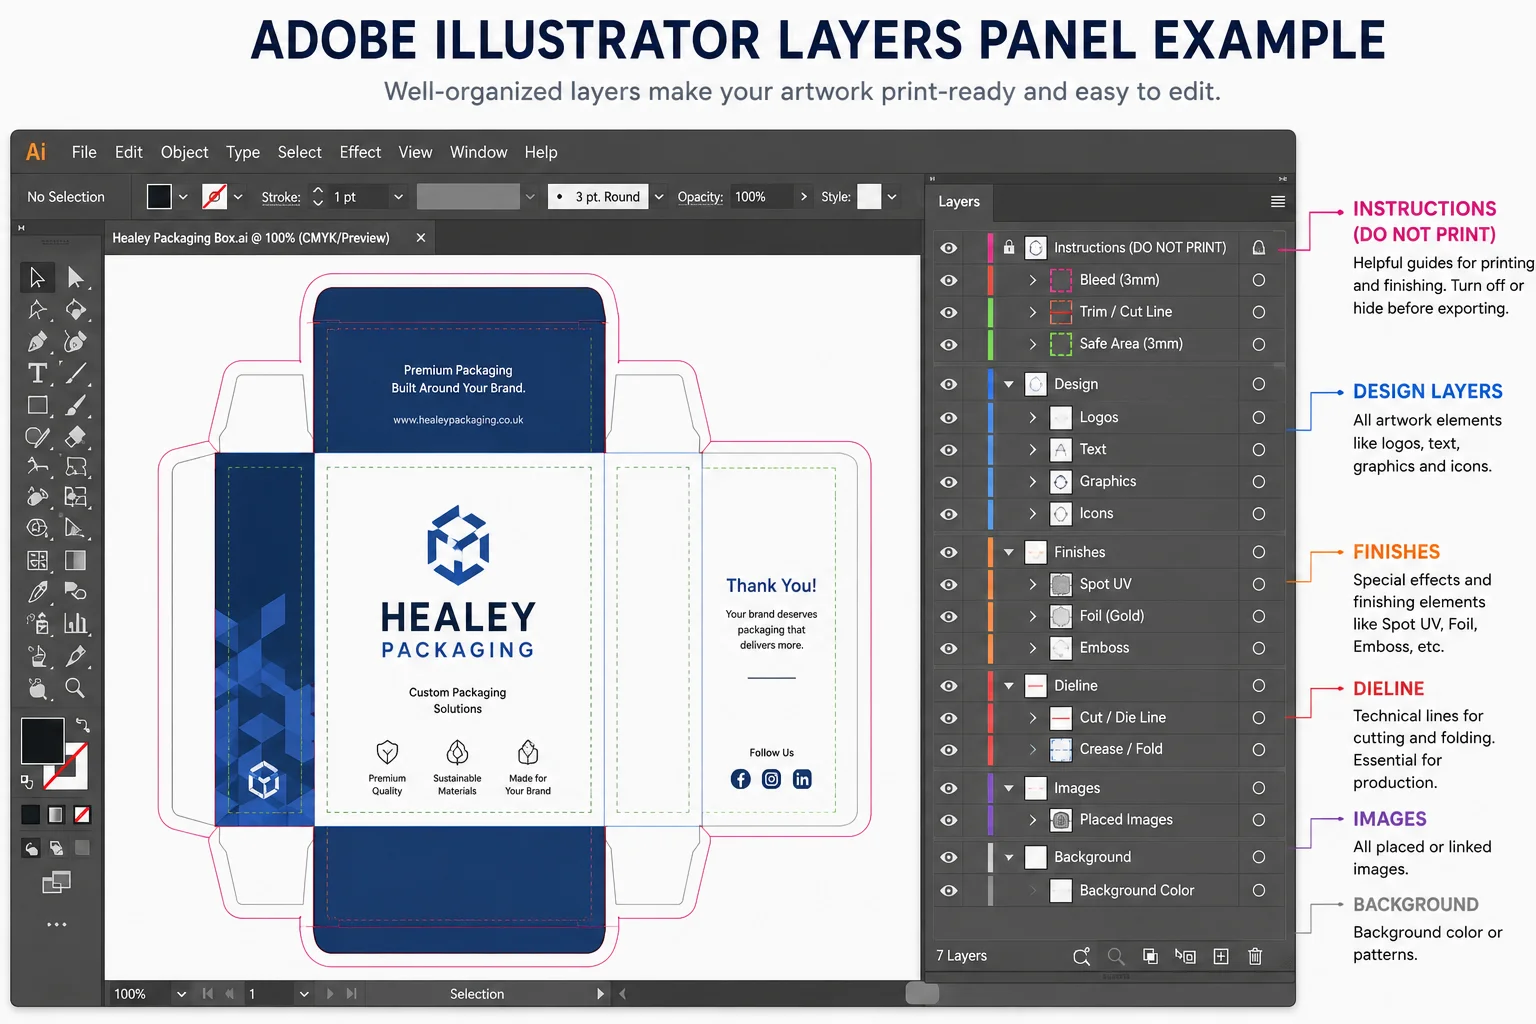
Prepress Tip: Keep the printer’s dieline visible but separate from your artwork layer. Do not flatten the final file before review.
Please Keep Separate
- Cut lines
- Fold lines
- Glue areas
- Artwork
- Special finishes
Do Not Modify
- Resize the dieline
- Rotate the template
- Delete guide layers
- Flatten the artwork
Preparing Special Print Finishes
If your packaging includes premium finishes, each finishing process should be supplied on its own separate layer. This helps our print team prepare accurate finishing plates for foil, Spot UV, embossing and other effects.
Finish Examples
Finishing Tip: Keep foil, Spot UV, embossing, debossing, white ink and varnish layers editable. Do not flatten finishing layers into the main artwork.
Why Separate Layers Matter
Supplying separate finishing layers ensures each effect is produced accurately and aligned perfectly on your packaging.
Finish Examples
- Gold Foil
- Silver Foil
- Spot UV
- Embossing
- Debossing
- White Ink
- Varnish
Each Layer Should
- Use spot colours
- Be clearly labelled
- Sit above artwork layers
- Remain editable
Packaging Proofing Checklist
Before uploading your artwork, double-check every detail. Proofreading and checking artwork before submission helps avoid expensive reprints, production delays and last-minute corrections.
Proof Before Production
Check text, product details, codes, colours, bleed and image quality before approving your final artwork.
Proofing Tip: Ask another team member to review the file before approval. Fresh eyes often catch mistakes.
Before Uploading Your Artwork
- Spelling
- Grammar
- Product information
- Ingredients
- Legal information
- Barcode
- QR codes
- Contact information
- Website
- Social media links
- Bleed
- Safe zone
- Colours
- Image quality
How to Send Your Artwork
You can submit your artwork files by email for small files or use cloud sharing for larger artwork folders. For large print-ready files, cloud sharing is usually the fastest and safest option.
Upload Tip: For large artwork files, send a cloud folder link with access enabled so our team can review everything without delay.
Please Include
- Artwork
- Fonts if not outlined
- Linked images
- Design notes
- Purchase order or quote reference
Frequently Asked Questions
Find quick answers to the most common artwork preparation questions before sending your files to Healey Packaging.
Need your artwork checked?
Our prepress team can review your artwork before production and highlight anything that may affect print quality, colour accuracy or turnaround time.
Request Artwork ReviewWhat is the best file format for packaging artwork?
Editable AI or press-quality PDF files are recommended because they preserve vector graphics, layers and print quality.
Can I submit Canva artwork?
Yes. Please export your design as a high-quality PDF before sending it to us. If necessary, our design team can help optimise it for print.
Why must artwork be in CMYK?
Packaging is printed using CMYK inks. RGB colours displayed on screens can appear noticeably different when printed.
Should I outline my fonts?
Yes. Outlining fonts prevents missing font substitutions and ensures your typography prints exactly as intended.
What happens if my artwork doesn’t meet the guidelines?
Our prepress team will review your files and let you know if any changes are needed before production. This helps avoid delays and ensures the best possible print quality.
Let Our Prepress Team Check Your Files Before Printing
Not sure whether your artwork is ready for production? Upload your files and our experienced prepress specialists will review them before printing. We check colour setup, bleed, safe zones, fonts, image resolution, dielines and overall print readiness before production begins.